


Have you ever dreamed of having your own online store? Do you want to sell your products or services to a global audience? If you answered yes, you might consider starting a Shopify store.
But how do you start a Shopify store from scratch? What are the steps involved? How much does it cost to start a Shopify store?
Even though it is a legitimate site, there are many questions that might pop up in your mind! If you want the answers to all these questions, I have you covered! Keep on reading this blog till the end to learn more…
How to Start a Shopify Store? – A Beginner’s Guide!

Shopify is one of the most popular and user-friendly platforms for creating and running an e-commerce business. It allows you to easily design, launch, and manage your online store. You can choose from several templates, customize the look and feel of your store, add products, set up payment methods, track orders, and more.
I’ll answer all the questions about a Shopify Store in this article. I’ll show you step-by-step how to start a Shopify store in 2024. Hopefully, by the end of this article, you’ll have a clear idea of creating a Shopify account, setting up your store, and launching it to the world.
Ready? Let’s get started!
1. Sign Up for Shopify
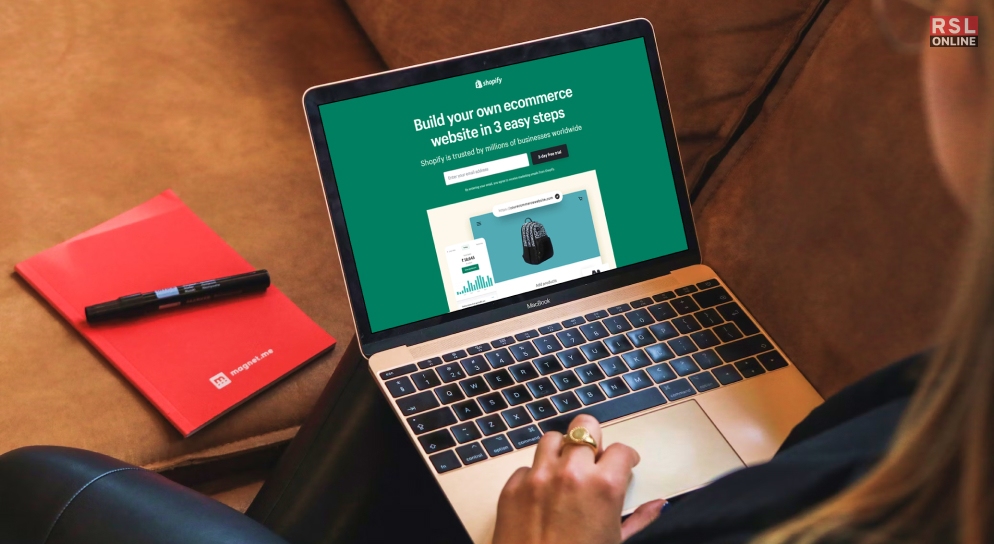
The first step to start a Shopify store is to sign up for a Shopify account. You can do this by going to the official site of Shopify and clicking on the “Start free trial” button.
You’ll be asked to enter your email address, password, and store name. Your store name should be unique, catchy, and relevant to your niche. You can change it later, but choosing a good one from the start is better.
Once you enter your details, click on “Create your store.” Shopify will then create your store and take you to the admin dashboard. This is where you’ll manage everything related to your store, from products and orders to settings and analytics.
2. Choose A Plan
Before you can start selling on Shopify, you need to choose a plan. Shopify offers three main plans. Each plan has different features and pricing, depending on your needs and budget.
Here’s a quick overview of the plans and their costs:
- Basic Shopify: This is the cheapest plan, costing $29 monthly. It gives you access to essential features, such as unlimited products, 24/7 support, an online store, sales channels, discount codes, and a free SSL certificate. However, it has some limitations, such as lower transaction fees, fewer staff accounts, and no professional reports.
- Shopify: This is the most popular plan, costing $79 monthly. It gives you access to everything in the Basic plan, plus more features like lower transaction fees, more staff accounts, professional reports, gift cards, and abandoned cart recovery.
- Advanced Shopify: This is the most expensive plan, costing $299 per month. It gives you access to everything in the Shopify plan, plus more features, such as the lowest transaction fees, most staff accounts, advanced reports, third-party calculated shipping rates, and custom fields.
To choose a plan, go to your admin dashboard and click on “Select a plan” at the bottom left corner. You’ll see the different plans and their prices. You can also start a 14-day free trial to test the features before committing to a plan.
Once you choose a plan, you must enter your billing information and confirm your payment. You can pay by credit card or PayPal. You can also change your plan at any time if you need to.
3. Add Products
The next step to start a Shopify store is to add products. Products are your store’s core, so you must choose your products well. They must be of high quality, attractive, and appealing to your target audience.
To add products, go to your admin dashboard and click on “Products” on the left menu. Then, click on “Add product” at the top right corner.
You’ll see a page where you can enter the details of your product, such as title, description, price, images, variants, inventory, shipping, and SEO. You can also add tags and collections to organize your products and make them easier to find.
Once you enter all your product details, click “Save” at the top or bottom right corner. You can also preview your product page by clicking on “View” at the top right corner.
Repeat this process for all the products you want to add to your store. You can also import products from other platforms, such as Etsy, Squarespace, or Amazon, using Shopify’s built-in tools or third-party apps.
4. Customize Your Store
The next step to start a Shopify store is to customize your store. This is where you can make your store look and feel how you want. You can choose a theme, add a logo, change the colors, fonts, and layout, and more.
To customize your store, go to your admin dashboard and click on “Online Store” on the left menu. Then, click on “Themes” at the top.
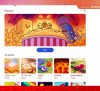
You’ll see a page where you can choose a theme for your store. This will determine the default appearance and functionality of your store. Shopify offers dozens of free and paid themes you can browse and select.
You can filter the themes by category, industry, style, or price. You can preview the themes by clicking “View demo” or “Try theme.” Once you find a theme you like, click “Add to theme library” to install it on your store.
Furthermore, you can customize your theme by clicking “Customize” at the top right corner. You’ll see a page where you can edit your theme’s different sections and elements, such as header, footer, homepage, product page, collection page, cart page, and more.
You can also add, remove, or rearrange the sections and elements by clicking on the “+” or “-” icons at the bottom left corner. Also, you can access the theme settings by clicking on the “Theme settings” tab at the top right corner. You can change the colors, fonts, social media links, favicon, and more here.
Once you’re happy with your customization, click on “Save” at the top right corner. You can also preview your store by clicking on “View your store” at the top right corner.
5. Set up Your Domain
The next step to start a Shopify store is to set up your domain. A domain is your store’s web address or URL, such as www.yourstore.com. It’s important to have a domain that is easy to remember, spell, and type.
To set up your domain, go to your admin dashboard and click on “Online Store” on the left menu. Then, click on “Domains” at the top.
You’ll see a page where you can choose a domain for your store. You have two options: buy a new domain from Shopify or connect an existing domain you own from another provider.
If you want to buy a new domain from Shopify, you can search for the name and extension that you want, such as .com, .net, .co, etc. You’ll see the availability and price of the domain. If you find a domain you like, click “Buy” to purchase it. You’ll need to enter your billing information and confirm your payment. Shopify will then register the domain for you and connect it to your store automatically.
If you want to connect an existing domain that you own from another provider, you can click on “Connect existing domain” and enter your domain name. You’ll then need to verify your ownership of the domain and update your DNS settings to point to Shopify’s servers.
Once you set up your domain, you can also set it as your primary domain so that all your traffic goes to that domain. You can also enable SSL certificates, which encrypt your data and make your store more secure.
6. Launch Your Store
The final step to start a Shopify store is to launch your store and make money on Shopify. This means that you’re ready to open your store to the public and start selling.
To launch your store, go to your admin dashboard and click on “Online Store” on the left menu. Then, click on “Preferences” at the bottom.
You’ll see a page where you can edit your store’s general settings, such as title, meta description, homepage title, homepage meta description, Google Analytics, Facebook Pixel, and password protection.
Here are some tips to launch your store effectively:
- Write a catchy and relevant title and meta description for your store.
- Write a captivating and informative homepage title and meta description for your store.
- Set up Google Analytics and Facebook Pixel to track and measure your store’s performance, traffic, conversions, and more. Disable password protection to make your store visible and accessible to everyone.
Once you’re done with your settings, click on “Save” at the top right corner. Congratulations, you’ve just launched your Shopify store!
Wrapping It Up!
Starting a Shopify store in 2024 is not as hard as it may seem. With Shopify’s easy-to-use platform and features, you can quickly create and run your online store.
In this article, I’ve shown you step-by-step instructions on how to start a Shopify store, with screenshots and tips. You’ve learned how to:
- Sign up for Shopify and choose a plan
- Add products and optimize them for SEO
- Customize your store and make it attractive and functional
- Set up your domain and make it memorable and secure
- Launch your store and start selling
Now, it’s your turn to take action and start your own Shopify store. I hope you found this article helpful and informative. If you have any questions or feedback, feel free to leave a comment below.
If you need more help or guidance on how to start a Shopify store, you can always hire a Shopify expert to assist you. A Shopify expert is a professional who can help you with anything related to Shopify, such as design, development, marketing, or optimization.
Read Also: