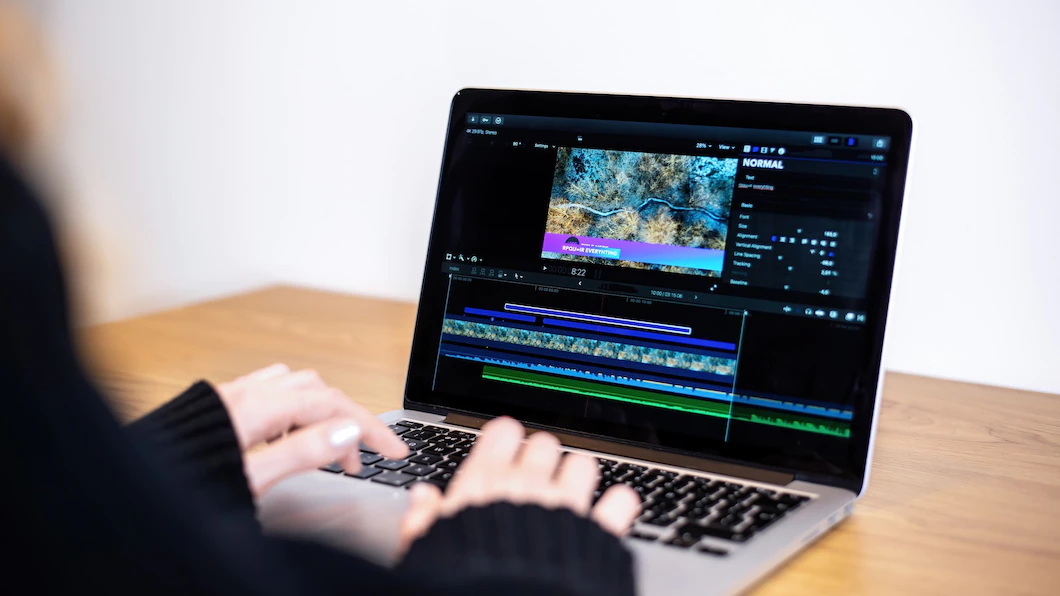
Premiere Pro is a powerful video editing software that offers a wide range of transitions to enhance the visual flow of your videos. However, like any complex software, it can encounter issues that may prevent transitions from working properly. In this guide, experts in studioplugins company will explore some common problems and provide troubleshooting steps to help you overcome them.
Outdated Software
One of the most common reasons for transitions not working in Premiere Pro is using an outdated version of the software. Ensure that you have the latest version installed by checking for updates through the Creative Cloud application. Updating to the latest version often resolves compatibility issues and provides bug fixes.
Insufficient System Resources
Premiere Pro requires a substantial amount of system resources to run smoothly, especially when applying transitions. Insufficient RAM or an overloaded CPU can result in choppy playback or transitions not rendering correctly. Make sure your computer meets the minimum system requirements for Premiere Pro, and close any unnecessary applications running in the background to free up resources.
Corrupted Media Cache
Premiere Pro uses a media cache to store temporary files for quicker access to media assets. If the media cache becomes corrupted, it can cause issues with transitions. To troubleshoot this, go to the Edit menu, select Preferences, and choose Media Cache. Click on the Clean button to clear the cache. You can also change the location of the media cache to a different drive.
Incorrect Sequence Settings
Transitions may not work properly if the sequence settings do not match your footage. Ensure that the sequence settings, such as resolution, frame rate, and pixel aspect ratio, are correctly configured to match your video clips. You can create a new sequence with the correct settings and copy and paste your clips into it.
Incompatible GPU Or Driver Issues
Premiere Pro leverages the power of the GPU to accelerate rendering and playback. If you’re experiencing issues with transitions, it could be due to an incompatible or outdated graphics card driver. Visit the manufacturer’s website and download the latest GPU driver for your specific model. Additionally, check if Premiere Pro supports your GPU model for hardware acceleration.
Transitions Overlapping Or Clipping
Sometimes, transitions may not appear as expected due to overlapping clips or insufficient handles. Ensure that there is enough footage available before and after the transition point to accommodate the desired transition duration. If clips overlap, it can cause transitions to be hidden or create visual artifacts. Adjust the clips or extend the duration of the transition to resolve this issue.
Effect Controls And Keyframes
Premiere Pro allows you to customize transitions by adjusting parameters and adding keyframes. If you’re experiencing issues, make sure you have the correct transition selected in the Effect Controls panel. Check for any keyframe conflicts or unintended changes in the parameters. Resetting the effect or deleting and reapplying the transition can also help resolve any issues related to customized settings.
Third-Party Plugin Compatibility
If you’re using third-party plugins for transitions, they may not be compatible with the version of Premiere Pro you’re using or with each other. Ensure that your plugins are up to date and compatible with the installed version of Premiere Pro. Disable or remove any problematic plugins to isolate the issue and contact the plugin developer for support if needed.
Damaged Project Or Cache Files
Occasionally, project or cache files in Premiere Pro can become corrupt, leading to various issues. To troubleshoot this, create a backup of your project and delete the cache files. You can find the cache files location under Preferences > Media Cache. If the problem persists, try creating a new project and importing the original project into it.
Reinstall Premiere Pro
If all else fails, you may consider reinstalling Premiere Pro. Uninstall the software from your computer, restart the system, and then reinstall it using the Creative Cloud application. Reinstalling can help fix any issues related to missing or corrupted program files.
By following these troubleshooting steps, you can resolve common issues that prevent Premiere Pro transitions from working properly. Remember to save your work regularly and keep backups of your projects to minimize potential data loss. If the problem persists, it’s recommended to seek further assistance from Adobe Support or the Premiere Pro user community.
Read Also:


