


Are you a proud Xfinity user, enjoying high-speed internet and reliable cable TV services? Well, if you’re not making the most of your Xfinity account by using Xfinity email, you’re missing out on a valuable resource. In this blog post, I am going to dive deep into the world of Xfinity email login, exploring its features, and benefits, and offering some handy tips to enhance your email experience.
So, if that is what you are interested to learn, you have reached the right place. Keep on reading this article till the end to learn more…
Understanding Xfinity Email
First things first, what exactly is Xfinity email? It’s an email service provided by Comcast, one of the largest telecommunications companies in the United States. If you’re already a Comcast customer, you probably have access to a free Xfinity email account. It’s a versatile tool that allows you to send and receive emails, manage contacts, and stay connected with friends, family, and colleagues.
Now that you have a basic idea of what your Xfinity email account is, it is time to dig deeper into the login process of your Xfinity email. So, let’s begin this journey of acing the Xfinity email login and managing process!
How To Create An Xfinity Account?
Creating an Xfinity account is a straightforward process that allows you to access various Xfinity services, including email, internet, and cable TV. Here’s a step-by-step guide on how to create an Xfinity account
1. Visit The Xfinity Website
Open your web browser and go to the official Xfinity website. You can do this by typing “xfinity.com” into your browser’s address bar and hitting “Enter.”
2. Click “Sign In” Or “Create A Username”
On the Xfinity homepage, locate the “Sign In” or “Create a Username” button. It may be located in the upper-right corner of the page.
3. Choose “Create A Username”
If you clicked “Create a Username,” you’ll be taken to a page where you can start the registration process. If you clicked “Sign In,” look for an option like “Don’t have an account? Create one.”
4. Enter Your Account Number Or Phone Number
To begin creating your Xfinity account, you will need to provide some identifying information. This typically includes your Xfinity account number or the phone number associated with your Xfinity account. You can find your account number on your Xfinity bill or customer documents.
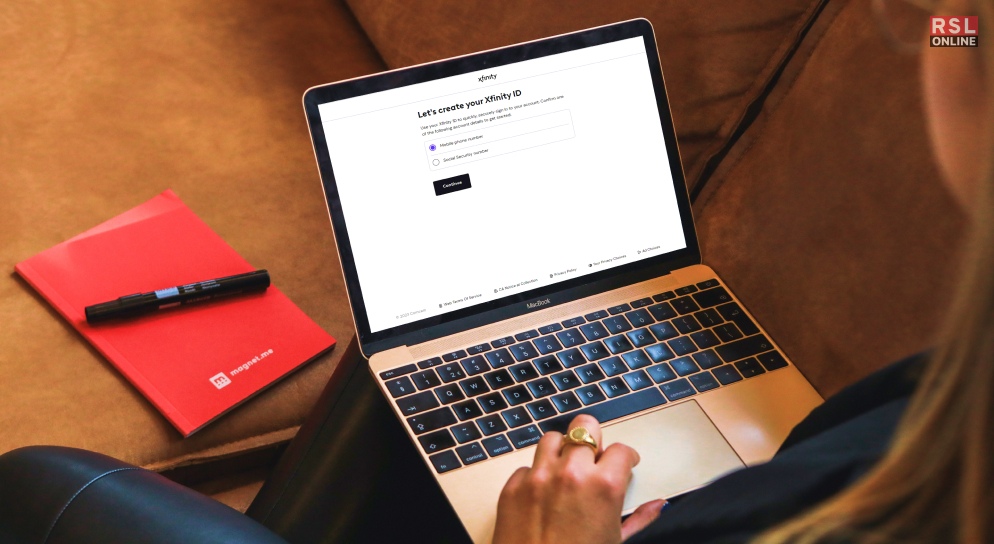
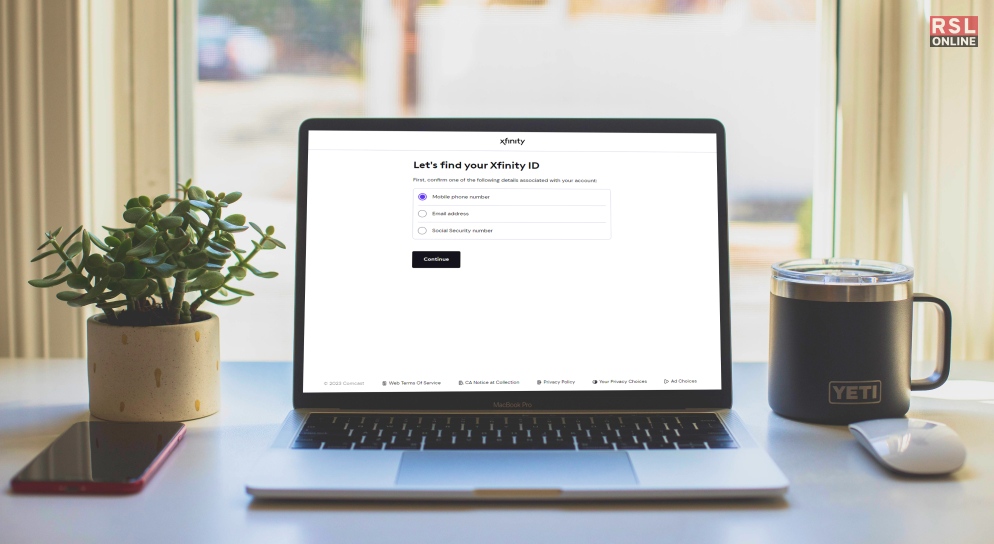
5. Verify Your Identity
After entering your account number or phone number, you will need to verify your identity. Follow the on-screen instructions, which may include providing your Social Security number, date of birth, or other personal information.
6. Create A Username And Password
Once your identity is verified, you can choose a username and password for your Xfinity account. Your username will be used to sign in to your account, and your password should be strong and secure.
7. Set Up Security Questions
To enhance the security of your account, you’ll be asked to set up security questions and answers. These will be used to verify your identity in case you forget your password or need to recover your account.
8. Review And Accept Terms And Conditions
Before completing the registration process, carefully review Xfinity’s terms and conditions and privacy policy. Ensure that you agree to their terms before proceeding.
9. Complete Registration
After agreeing to the terms and conditions, click the “Complete Registration” or similar button. This action will finalize the creation of your Xfinity account.
10. Confirmation And Verification
You may receive an email or text message with a verification link or code. Follow the instructions provided to confirm your account.
11. Log In To Your Xfinity Account
Once your account is confirmed, return to the Xfinity website and click “Sign In.” Enter the username and password you created during registration to log in to your account.
Congratulations! You’ve successfully created an Xfinity account. With your Xfinity account, you can manage your services, pay bills, access Xfinity email, and enjoy various other features and benefits offered by Comcast’s Xfinity services.
How To Login To Your Xfinity Email?

Logging in to your Xfinity email account is a simple process. Here’s a step-by-step guide:
1. Open Your Web Browser
Start by opening your preferred web browser on your computer or mobile device.
2. Visit The Xfinity Email Login Page
In the address bar of your web browser, type in the following URL: “https://www.xfinity.com/email.”
Alternatively, you can go to the main Xfinity website (xfinity.com) and look for the “Email” option in the top navigation menu. Clicking on “Email” will also take you to the login page.
3. Enter Your Xfinity Email Address
On the Xfinity email login page, you’ll see a field labeled “Email or Username.” Enter your full Xfinity email address in this field. It typically looks like “username@comcast.net” or “username@xfinity.com.”
4. Provide Your Password
In the next field labeled “Password,” enter the password associated with your Xfinity email account. Make sure you type it correctly, as passwords are case-sensitive.
5. (Optional) Stay Signed In
If you’re using a personal or trusted device and want to stay signed in, you can check the “Stay signed in” or “Remember me” box. However, it’s advisable not to enable this option on public or shared computers for security reasons.
6. Click “Sign In”
After entering your email address and password, click the “Sign In” button to log in to your Xfinity email account.
7. Complete Any Security Verification (If prompted)
Depending on your account settings or if Xfinity has implemented additional security measures, you might be asked to complete a security verification step, such as entering a verification code sent to your mobile device or secondary email address.
8. Access Your Xfinity Email
Upon successful login, you’ll be directed to your Xfinity email inbox, where you can read, send, and manage your emails.
That’s it! You’ve now successfully logged in to your Xfinity email account. Remember to log out when you’re done, especially if you’re using a shared or public computer, to ensure the security of your email account.
How To Find Your Xfinity Email?
Finding your Xfinity email address is relatively easy, especially if you already have an Xfinity account. Here’s how you can locate your Xfinity email address…
1. Log In To Your Xfinity Account
Start by visiting the Xfinity website (xfinity.com) and click on the “Sign In” button in the upper-right corner of the page. Log in with your Xfinity username and password. If you’ve forgotten your username or password, there are options to recover them on the sign-in page.
2. Navigate To The Xfinity Email Section
Once you’ve successfully logged in, you’ll be taken to your Xfinity account dashboard. Look for a section related to email. The exact location of this section may vary depending on the layout of the website, but it’s typically found under “My Account” or a similar heading.
3. View Your Xfinity Email Address
In the email section of your account dashboard, you should be able to see your Xfinity email address displayed. It will typically be in the format of “username@comcast.net” or “username@xfinity.com.”
If you have multiple Xfinity email addresses associated with your account, you should see all of them listed in this section. Simply choose the one you need.
In case you don’t have an Xfinity account or are unsure about your email address, you may need to contact Xfinity customer support for assistance. They can verify your account and provide you with the necessary information.
Remember to keep your Xfinity email address and password secure, as they are essential for accessing your Xfinity email and managing your account.
How To Add New Users To Your Xfinity Email?
Adding new users to your Xfinity email account allows family members or colleagues to access their own email addresses under the same account. Here’s how you can add new users to your Xfinity email
1. Log In To Your Xfinity Account
Start by visiting the Xfinity website (xfinity.com) and clicking on the “Sign In” button in the upper-right corner. Log in with your Xfinity username and password.
2. Access The Xfinity Account Management Page
After logging in, you’ll be taken to your Xfinity account dashboard. Look for an option like “Manage Users” or “Users & Settings.” The exact wording may vary.
3. Add A New User
Within the “Manage Users” or similar section, you should find an option to “Add a New User” or “Create a New User.” Click on this option to begin the process of adding a new user.
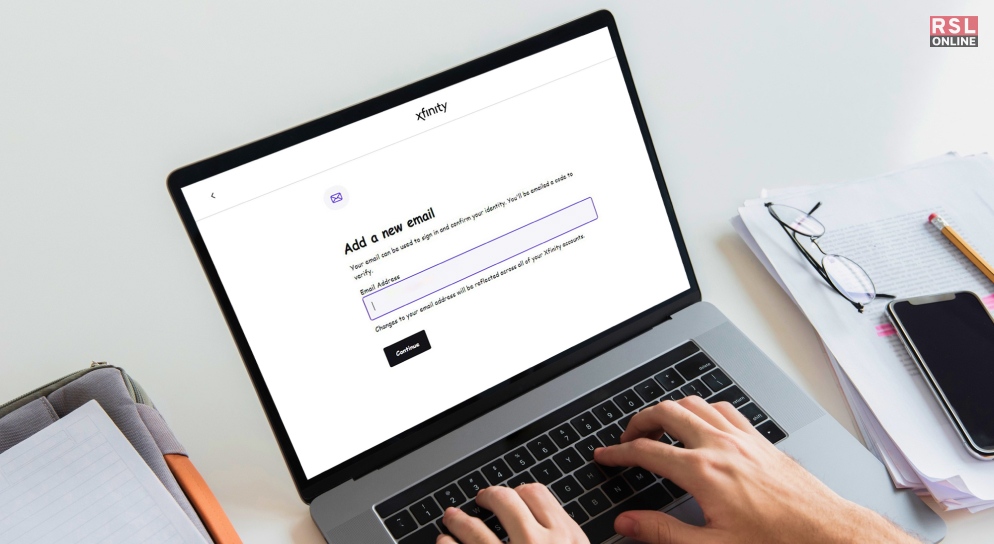
4. Enter User Information
You will need to provide information for the new user, including their name, desired email address (which will end in “@comcast.net” or “@xfinity.com”), and a password. Ensure the password meets security requirements.
5. Assign Permissions
Depending on the level of access you want to grant, you may be able to assign specific permissions to the new user. These permissions can include email access, TV viewing, and more. Follow the prompts to customize the user’s access.
6. Verify And Confirm
Review the information you entered for the new user to ensure it’s correct. Once you’re satisfied, confirm the creation of the new user account.
7. Notify The New User
It’s a good practice to inform the new user about their email address and password, as they will need this information to log in. Additionally, let them know about any specific permissions or restrictions you’ve set.
8. Log Out Or Switch User (Optional)
If you have multiple users on your Xfinity account, you can log out and allow the new user to log in using their credentials. Alternatively, if you’re sharing a computer, you can switch users when accessing Xfinity email.
Remember that you, as the primary account holder, have control over the settings and permissions for all users on the account. You can modify or remove users as needed from the same “Manage Users” or similar section in your Xfinity account settings.
Adding new users to your Xfinity email account is a convenient way to manage email addresses for different family members or team members, all under one primary account.
Troubleshooting Xfinity Email Login Problems

While the Xfinity email login process is usually straightforward, you might encounter some issues. Here are some common problems and how to solve them:
1. Forgot Your Password: If you can’t remember your password, don’t worry. Just click on the “Forgot Your Password?” link on the login page, and Xfinity will guide you through the process of resetting it.
2. Username Issues: Ensure you’re entering the correct username, which is typically your full Xfinity email address.
3. Two-Factor Authentication Problems: If you’re having trouble with 2FA, double-check that you’ve followed the setup instructions correctly. If you still can’t get in, contact Xfinity customer support for assistance.
Xfinity Email Features

Now that you’re logged in, let’s explore some of the fantastic features that Xfinity email offers:
1. A Clean And User-Friendly Interface: Xfinity’s email interface is intuitive and easy to navigate, making it a breeze to send, receive, and organize your emails.
2. Generous Storage Space: Xfinity provides ample storage space for your emails and attachments, so you won’t have to worry about running out of room.
3. Comprehensive Spam Filters: Say goodbye to spam emails cluttering your inbox. Xfinity’s robust spam filters keep unwanted emails at bay.
4. Integration With Xfinity Connect: Xfinity email seamlessly integrates with Xfinity Connect, giving you access to additional features like voicemail and text messaging.
5. Mobile Accessibility: Access your Xfinity email on the go with the Xfinity Connect app, available for both iOS and Android devices.
Tips For Maximizing Your Xfinity Email Experience

To make the most of your Xfinity email, consider these helpful tips:
1. Organize Your Inbox: Use folders and labels to keep your emails organized and easy to find.
2. Set Up Filters: Create filters to automatically sort incoming emails into specific folders based on criteria you define.
3. Use Xfinity Connect: Explore the additional features offered by Xfinity Connect, such as voicemail and text messaging.
4. Stay Secure: Protect your email account by regularly updating your password and enabling two-factor authentication.
5. Keep An Eye On Updates: Xfinity may release updates and new features, so periodically check for any improvements to your email experience.
Wrapping It Up!
In this blog post, I have tried to demystify the Xfinity email login process and highlighted some of the features and tips to enhance your email experience. Xfinity email is a valuable tool that can help you stay connected and organized in our digital age. So, don’t wait—log in and unlock the full potential of your Xfinity email account today!
In case you were searching for information related to the Xfinity email login process and more, I hope that this blog has been of help to you. If there are any other queries related to the same, feel free to let me know. All that you need to do is scroll down till you reach the bottom of the page, Then leave your comments and queries in the box below. And I will be there to answer them all for you!
Read Also: